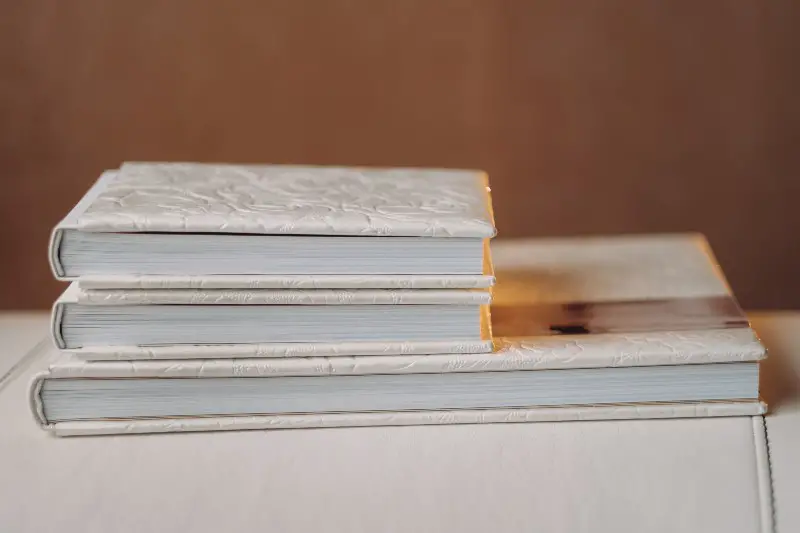
In a world obsessed with all things digital, the art of bookbinding is something of a lost skill. This fascinating craft spans back to the 2nd century BC and provides enthusiasts with a satisfying creative outlet.
The process, which has been refined over the centuries, encompasses various printing and binding techniques and materials, ranging from straightforward paper folding to expert leather or gilded bookbinding.
For those keen to learn the art of bookbinding, we wrote this guide to provide you with handy tips and tricks to hone your craft and produce books that fill you with pride.
Research the Bookbinding Process
Our first nugget of advice for bookbinding novices is simple: take some time to research the art of bookbinding.
If you’re new to the hobby, beginner bookbinding guides will give you an overview of what to expect, including common bookbinding techniques and the materials you’ll need to get started.
Luckily, there are dozens of bookbinding texts out there to help you learn more about the craft, such as Making Books: A Guide to Creating Hand-Crafted Books by the London Centre for Book Arts, How to Make Books: Fold, Cut and Stitch Your Way to a One-of-a-Kind Book and Bookbinding: A Step-by-Step Guide.
Source Suitable Materials
After you’ve completed your preliminary bookbinding research, it’s time to think about the materials you’ll need. A basic bookbinding kit generally consists of the following:
- Cutting mat
- Awl for piercing holes
- Paring knives
- Scalpel
- Scissors
- Metal ruler
- Curved needles
- Straight needles
- Beeswax for waxing thread
- Bonefolders
- Glue brushes
- Boards and weights for pressing
Advice for Bookbinding Beginners
For those new to the craft, we’d like to offer some tips and tricks to get you started:
Learn to fold and cut paper accurately
First, learn how to fold and cut paper accurately. Without this foundational skill, you’ll struggle to create a high-quality finished product.
Accurately measure and mark where you need to fold using the bone folder, then apply even pressure to fold the paper neatly. To ensure a clean cut, align your ruler on the marked line and use a craft knife to cut the paper on a cutting mat to ensure a straight cut.
Learn sewing
Next, you’ll need to learn how to sew. Mastering basic techniques such as saddle stitching is a good place to start. We recommend purchasing a sewing kit and watching some tutorials on YouTube to help you learn the basics.
Techniques for Intermediate Bookbinders
As your bookbinding skills develop, you may be itching to try more intermediate techniques, such as:
Coptic stitching
Coptic stitching is a method for binding pages together without glue or staples. Fold sheets of paper in half to create signatures and punch holes evenly along the signature fold.
Using a needle and thread, stitch through the holes of the signatures one by one, linking them together with a chain stitch along the spine. Lastly, stitch the covers to the first and last signatures. Voila, you’ve got yourself a coptic stitched book!
Medieval binding
Once you’ve mastered Coptic stitching, you might want to give medieval binding a go. This intermediate bookbinding technique creates a charming end product.
The method involves five key steps: parchment making, writing, illumination, binding and decoration. Historically, each step involved different artisans, but we’re sure you could do a great job yourself!
Techniques for Bookbinding Masters
Now, if you’re feeling confident in your bookbinding abilities, consider trying these advanced techniques:
Leather binding
To give your books a premium feel, we recommend leather binding.
Key steps include preparing the leather, carefully attaching it to the book cover boards and binding it to the text block. Regarding materials, use high-quality, flexible leather that is durable and easy to work with.
Additionally, use study threats and ensure that stitching is tight and even to keep the binding secure for years to come. Finally, make sure to opt for strong glues suitable for leather binding.
Gilding
Another advanced bookbinding method is gilding, which applies gold leaf to the book’s edges or covers. In the simplest terms, the process involves preparing the surface and applying a thin layer of gold leaf adhesive.
Next, the binder applies the gold leaf and smooths it out. After drying, they gently polish the gold for a shiny finish.
Applying gilding to the book edges is a whole different process requiring expertise and patience. Gilding is a highly advanced technique, so we recommend it only once you’ve mastered basic and intermediate bookbinding techniques.
DIY Bookbinding vs Professional Services
While DIY bookbinding is an enjoyable hobby, there are times when a professional touch is required! Bookbinding professionals best handle large-scale projects or books requiring a high-quality finish. Thankfully, there are several online printing and binding services that can help you bring your book to life.
Conclusion
DIY bookbinding is a rewarding hobby that connects us to a rich historical craft. By starting with simple paper folding and progressing to more complex skills like leather binding and gilding, enthusiasts can create beautiful, handcrafted books.


